
How to Self Publish on Amazon KDP in 2021: Step by Step Guide So You Don’t Fail!
So are you super excited about the book you’ve finished and want to upload it ASAP to Amazon KDP?
Well, don’t do what I did in 2020!
I just randomly uploaded my Children’s Book without looking into more information and wish I could go back and change certain things now!
So instead of making my mistakes, I am writing out a step-by-step guide so that you can get it right from the start and have your book set up for SUCCESS!

Step 1: Set up an Amazon KDP account
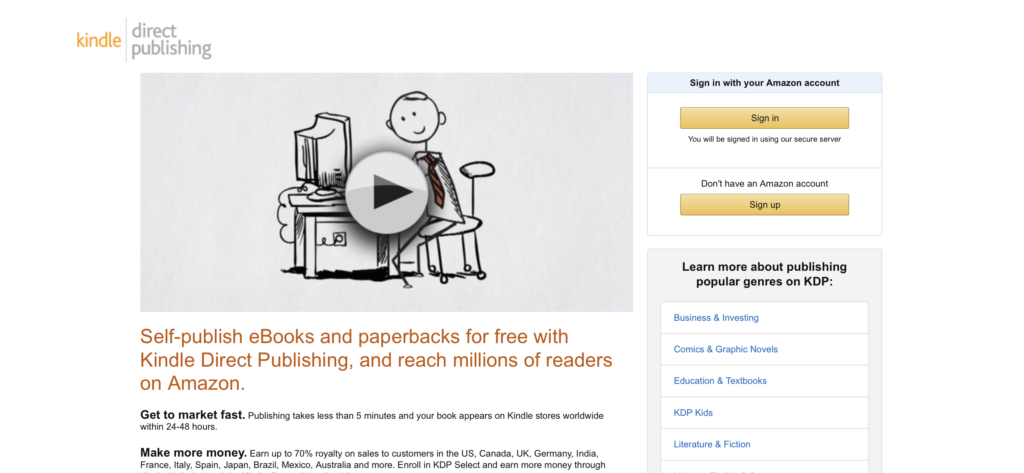
This is probably the easiest part. If you already have an amazon account you can use those details and voila you’re done!
However, if you want to use a different email (like a business one), then you want to scroll down and click “Create a new KDP account.”
Enter your Name, Email, and Password. You will need to verify your email address, then agree to the terms and conditions.
This will then bring you to the KDP Dashboard.
Step 2: Complete Account Information
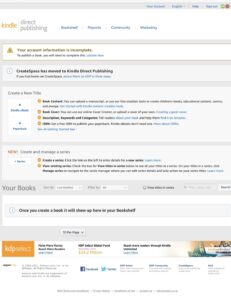
At the top of your page you will see “Your account information is incomplete.” Take the time to update this.
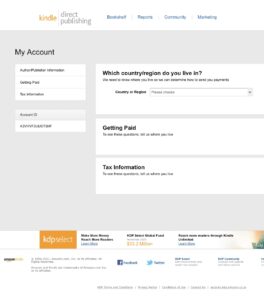
This first part will be verifying your phone number. After this, you will need to add in your Address Information, Getting Paid (bank information), and Tax Information.
Once completed, a green box will appear above each section with a checkmark.
Step 3: Create a New Title (add Paperback first!)
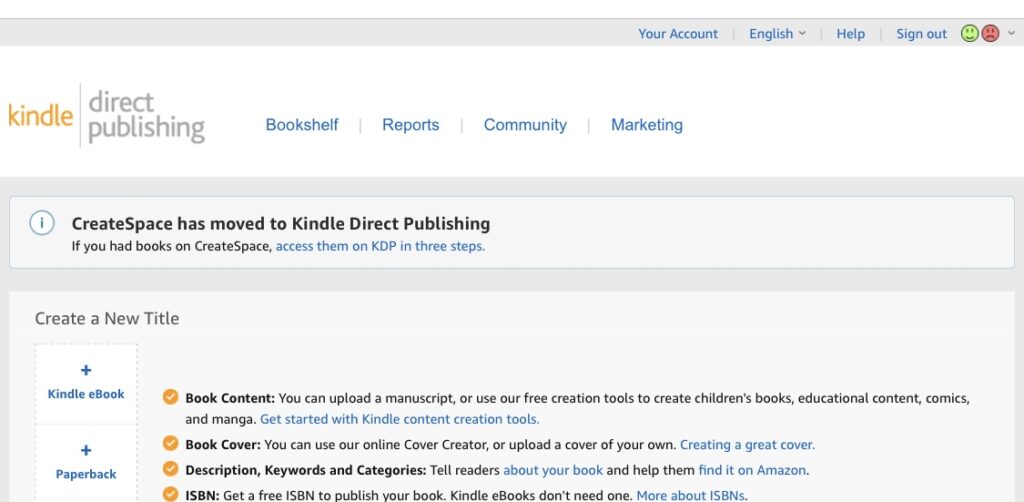
You have two options when you decide to upload your book, an eBook version or a Paperback. I recommend doing the paperback first and waiting until it is active before doing the eBook version.
Whichever one you do first will become the main thumbnail for your book on Amazon (I prefer my Paperback look, which is why I choose to upload it first).
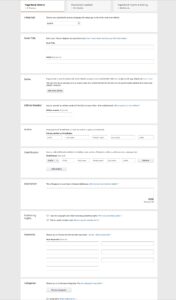
From here you will see three tabs, the first being Paperback Details.
BE WARNED YOU CANNOT CHANGE SOME OF THIS ONCE YOU HAVE PUBLISHED YOUR BOOK!!!
I was not aware of this and suffered from it.
The language, Book Title, and Subtitle (IMPORTANT) cannot be changed once you’ve published your book.
Why am I making such a fuss about this?
Well, because the subtitle is super important in helping your book be found when people are searching for vague topics.
Perhaps you have seen items on Amazon that have a title followed by “:blah blah blah blah” after it, which makes it look like a four-line product name.
Well, those extra words are what Amazon uses primarily in their search engine to direct people to your book.
So choose wisely!!
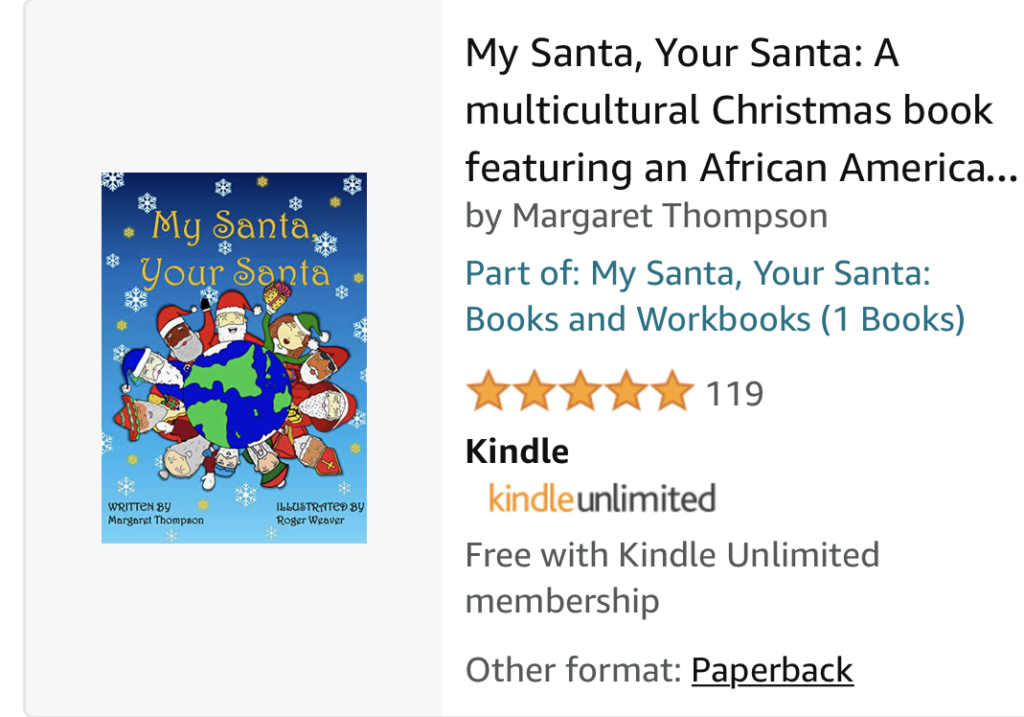
Please don’t overdo it, but research a few books within your genre and see what they have written.
You can continue to edit this and make it longer with your eBook, but for paperback, what you choose before publishing sticks.
For example: “My Santa, Your Santa” by itself didn’t yield the search results I hoped for, but “My Santa, Your Santa: A multicultural Christmas Book featuring……” made a huge difference, and my book would pop to the top of the list anytime someone searched for any of the words in my title.
Step 4: Description, Keywords and Categories

SPELLCHECK! If you don’t have Grammarly, get it.
You want this to look professional and stand out because it’s the only place they will get details about your book.
Amazon only shows the front and back cover on the images, so the description box is the place to sell what’s inside your book.
Make it catchy and interesting (again, Grammarly can tell you how formal or informal you sound, which is a nifty feature).
Next is the copyright…make sure you have applied for this already in your country and added it inside your manuscript before ticking this box.
Keywords….wooo….these are useless unless utilized correctly.
You can always come back and change them though, which is helpful. I sucked at these in the beginning.
I only put in two words, maybe three, and honestly, when I tried to find my book searching for these terms, the only one that worked was “Asian Santa”…because guess what, there’s literally nothing on Amazon to do with Asian Santas except our book.
You need to go into detail here with keywords by adding at least 5 into each box.

If you don’t know what to put in, go to Amazon and start typing in what people might search to find your book and then copy and paste what pops up as suggested.
If I type in Multicultural Christmas Book…Amazon suggests a longer keyword, “Multicultural Christmas books for kids” which hits more than what I would have put in.
The last important part of this section is Categories.
Same as above, do not do what I did and select “Children’s Christmas Books” and “Fantasy Books“, by choosing those it meant I was in competition with Harry Potter and other Classic books. AS IF I COULD COMPETE!

I was a brand new publisher, so no chance would my book rank in those categories.
So, niche down!
You can pick two categories, look into other areas like Education or Literary Collections. I noticed some Christmas books were under “Polar expeditions,” and I mean that kind of counts?
But what it does do is give you a higher chance of becoming a best seller in your category and ranking higher in searches on Amazon.
Lastly, select if your book is adult or not, and then SAVE AS DRAFT! Then if your ready, click Save and Continue.
Step 5: Paperback Content

To get a free ISBN or not…..If you pick Amazon’s free ISBN then it’s $0 (duh). However, if you want to use your own ISBN it usually costs about $125USD to buy one from an authenticated site.
So what is an ISBN?
It’s an International Standard Book number that identifies your book worldwide and appears above the barcode on your book’s back page (and you need to add it inside your book). Whoever creates the ISBN (you or Amazon) is then listed as the publisher.
When a bookstore might want to stock your book, they will see who the publisher is (some bookstores are hesitant about stocking Amazon books, especially if they aren’t hardcover).
Of course, you can buy your own ISBN down the track to make a hardcover version of your book through a different printing company.
Publication Date: I just picked when it’s first published.

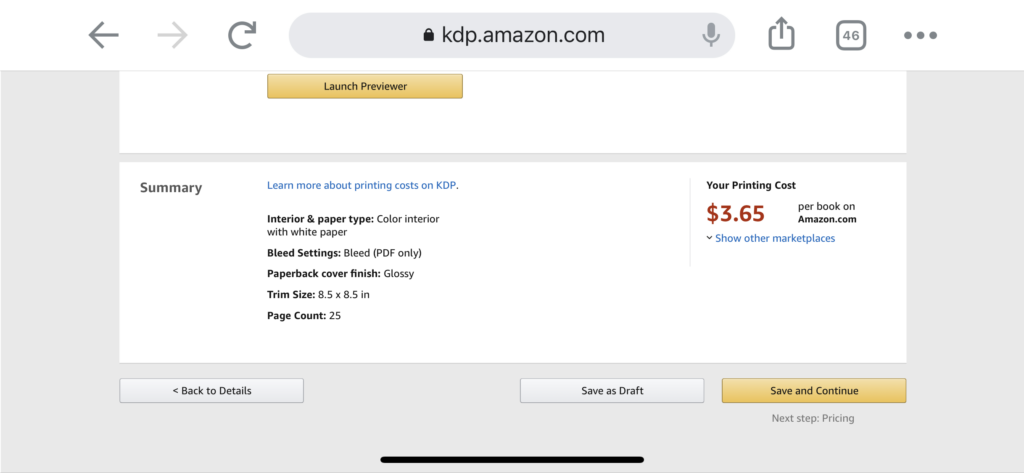
Print Options: This will affect the cost of how much Amazon will charge you to print your book.
The Black & white interior with cream paper is the cheapest and going upwards to the Premium color interior.
The Trim size you choose DOES NOT affect the cost though!
Bleed settings are all based on how you formatted your book (I will be doing a separate blog post about formatting).
Then, choose your cover finish, I like to go with Glossy because it looks more high end.
Next is to upload your Manuscript as either a Windows .doc file or a .html, .rtf or the classic PDF file (I did PDF).
Once you have selected this, it will take a few minutes before a green checkmark and box appears saying it has uploaded successfully.

For the Book Cover, you have two options. You can use Cover Creator or upload your own cover.
To be honest, I tried to use Cover Creator and absolutely hated it. It was hard to make any edits, there was a minimal choice in fonts and layouts, and I ended up wanting to punch my laptop screen!
Making my own cover in PowerPoint was WAY EASIER and turned out perfectly.
Again it will take a few minutes to upload before you see the green checkmark and box appear to say it’s uploaded.
Launch the Previewer! This will take a few minutes to load (be patient), and then it will open up to show you how your book will look.
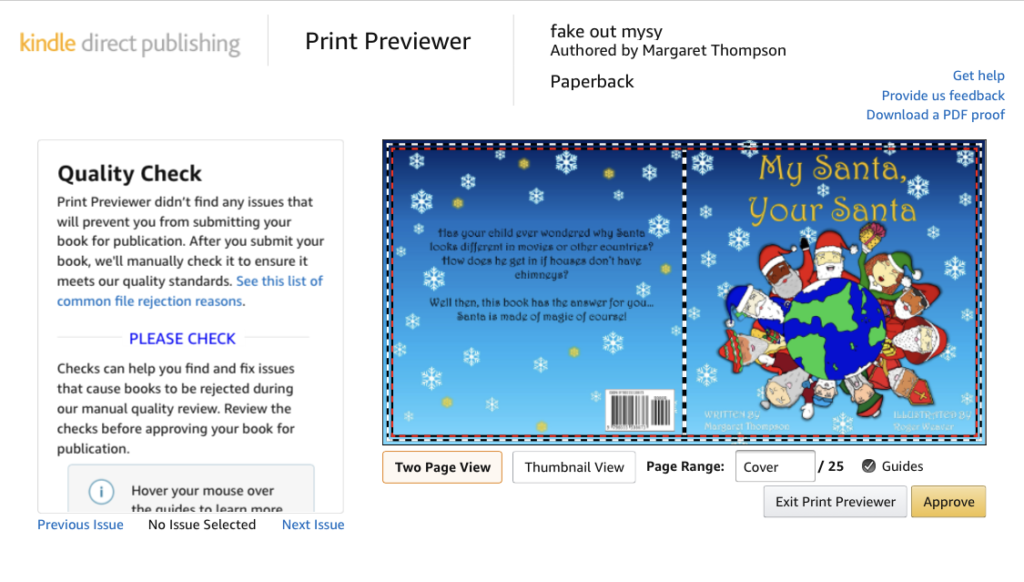
The left-hand column is the Quality Check; this will tell you if the size is incorrect or what might be cutout from your book if you don’t resize it.
You can then click through page by page to check everything is ok.
If you want, in the top right-hand corner is an option to download your book as a PDF (DEFINITELY DO THIS! It’s always good for sending out digital copies for promotion).
If everything is fine and dandy, click approve and you will go back to the content page, and at the bottom, your Summary and Printing Cost will appear.
You can always play around with any editing on your book to make sure you are 100% happy with it before hitting the save and continue button.
Step 6: Paperback Rights & Pricing
You are almost there; well done!
Next up is Territories- you want to hit the “All territories” option so that your book can be sold worldwide all over Amazon and their distributor’s platforms.

Pricing & Royalty: Choose your Primary Marketplace where you believe you will sell most of your books, and then type in a cost.
This will differ between when you do the Paperback vs. eBook….for Paperback, there is just one option to fill in, which is 60%. If you select Expanded distribution, you will automatically get 40% of your chosen price point.
The eBook offers 30% or 70%. 30% allows you to have a lower price and be enlisted in Kindle lending, which can help increase your Kindle Unlimited Payments. However, with 70%, you have to pick a high starting cost, and they charge you to send your book to people.
In the end, I feel like 30% is better for eBooks because of the benefits, and most people are always looking for cheaper books on Kindle, so having the option to choose a lower price point is beneficial.
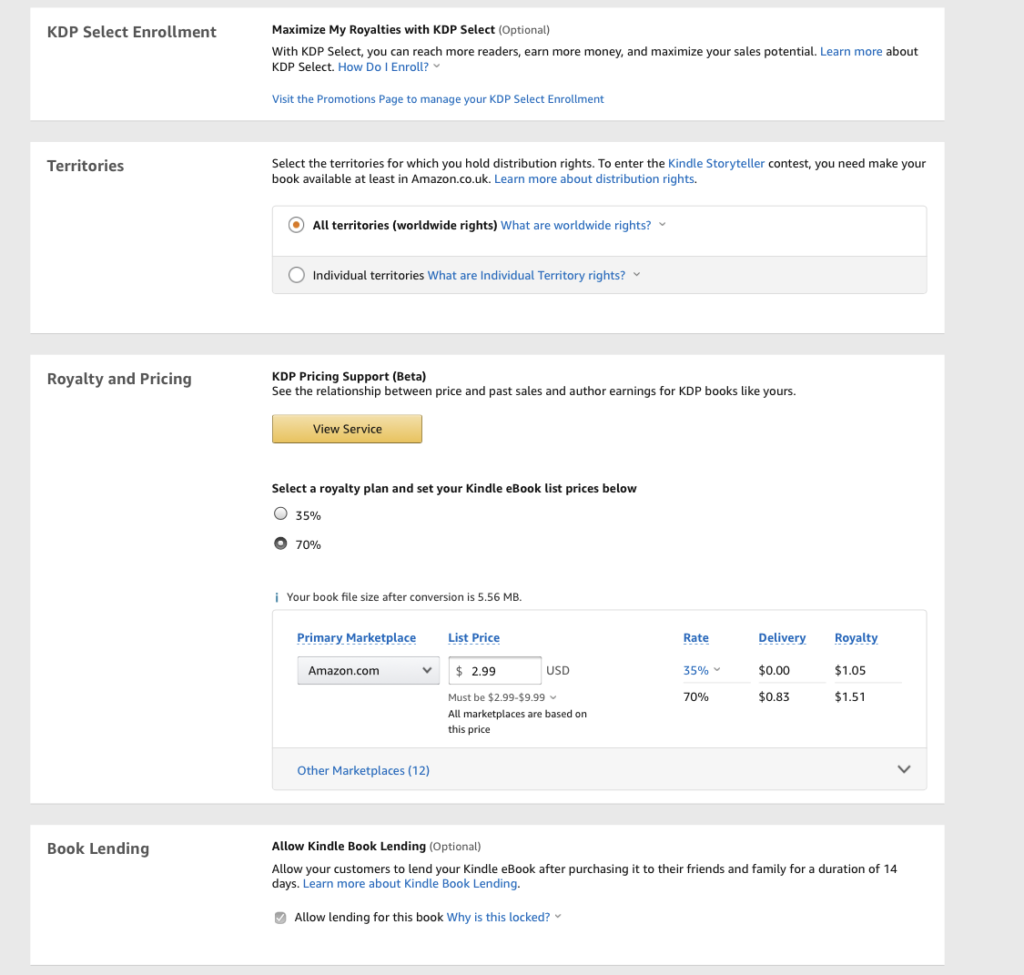
Make sure to pick a competitive price though, RESEARCH!
Go on to Amazon and check out other books similar to yours and make sure you don’t overcharge or sell yourself short.
Once you agree to the terms and conditions, you might be so excited that you just hit “Publish Your Book”…BUT DONT DO IT!
Click Save as Draft, and another box will appear asking if you want to purchase Printed Proofs…this is your chance to see what your book might look like in real life and if there’s anything you want to change before making it public.

Amazon will send you an email with the link to purchase it, and they charge the printing cost plus shipping (Amazon Prime doesn’t cover this); the shipping is slower than Prime but worth the wait to make sure you are happy with your book before publishing it.
Step 7: Publish and Repeat
Once you have received your paperback, and you are happy with everything, log back into your account and hit the publish button!
It will usually take anywhere from 1-3 days for Amazon to check over your book and make sure it isn’t copyrighted from anyone else’s work.
In the meantime, you can go through the process again with your eBook and link it to your paperback.
Once both books go live, you will see next to each Book “ACTIONS” and underneath either “Promote and Advertise” or “Order Author Copies” and next to them are three little dots “…”
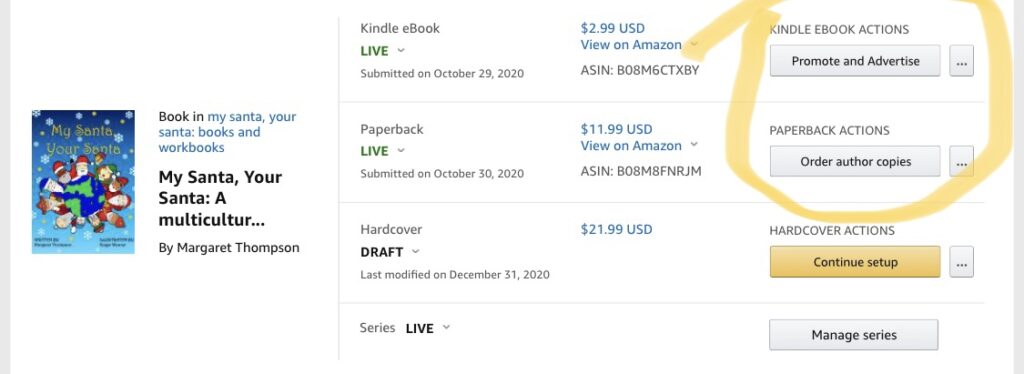
These dots will also pull up more options for advertising and editing your books for the future if there is anything you want to change (keywords, covers, categories, price, etc.).
I will be writing a separate post on how to advertise and market your book.
But for now, congratulations!! You are a published Author!
If you have any questions feel free to comment down below and make sure to check out our Youtube Channel “Mixed and Nerdy” for similar content.
Cheers Mate.
(Check out our book My Santa, Your Santa)
You May Also Like

Top 5 Baby Books for Bedtime: How To Encourage Diversity To Infants
January 15, 2021
Can Anyone Join Amazon Associates Affiliate Program? YES! A How To Guide For Making Money
January 10, 2021
